 Emplyr
Instance administration · Branding, domains and partner sign-in
How to configure Partner SSO
Create the instance’s partner secret and prepare profile/role mapping.
On this page
Before you start
- Use the intended instance’s Admin membership. Agree the integration contract and client/profile numbers with the partner before enabling a user flow.
Follow these steps
Screenshots use fictional training data. Names, dates and amounts are examples. Select an image to view it at full size.
- Select Admin / Global → Settings. The screen is Admin Settings with a Partner SSO section; it is separate from Whitelabeling.
- Review Partner ID and the saved secret-reference status. Use Generate secret when establishing the partner credential.
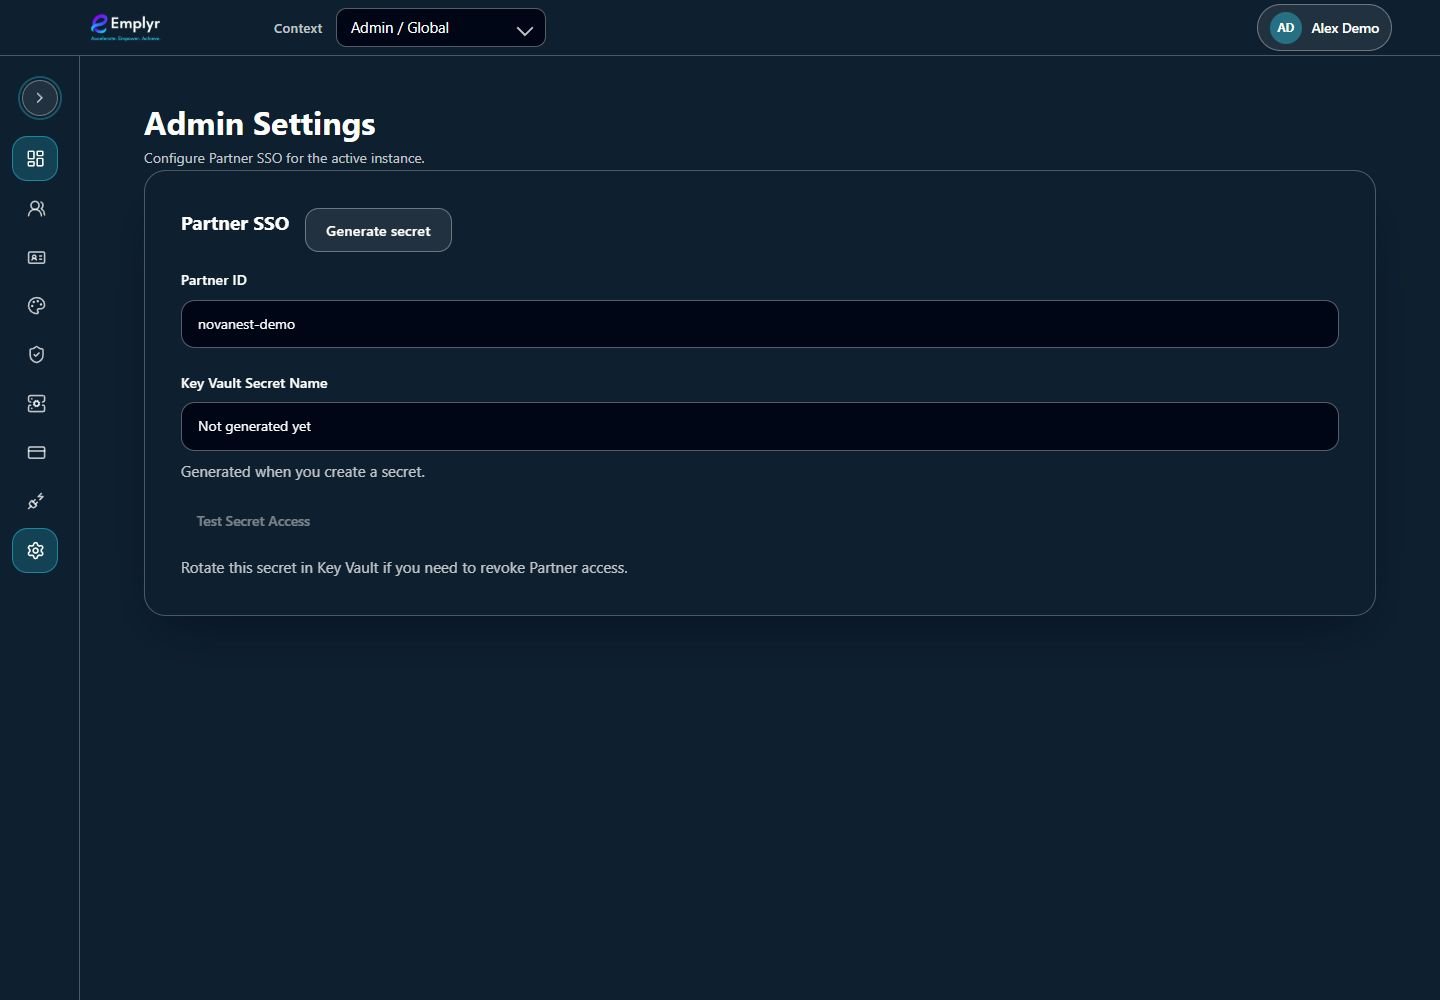
Configure Partner SSO only for the approved partner integration. Keep generated secrets outside screenshots and help requests. - In Partner SSO secret, copy the displayed secret value once and transfer it through the approved secure channel to the partner integration owner. It will not be shown again.
- Use the page’s secret-access test to confirm the app can read the protected credential. If it fails, involve the deployment administrator.
- Under Admin → Profiles, set the agreed profile/client number used for partner mapping. Have the integration owner confirm which partner role names should map into each profile.
- Test the agreed partner sign-in with an intended user and confirm the resulting instance/profile/role before broad use. For revocation/rotation, coordinate a new credential with the partner and deployment owner.
What you should see
The protected partner credential and intended profile mapping are ready for the partner’s tested SSO flow.
If something goes wrong
The secret dialog was closed before saving
Coordinate credential rotation/generation with the integration owner; do not expect to recover the original displayed value.
A partner user lands in the wrong profile
Stop testing changes to live records. Check the partner client number and role mapping with the integration owner.